 I attended the Al Hyter Portrait Group on Saturday morning and created these two portraits. The model's name is Robert and he is the owner of the restaurant, The Budapest, on Monroe Street in Toledo, Ohio.
Seems like creating art or in this case drawing portraits always has an adventure and a journey. Every month the Al Hyter group has two new models and we, the artists, get to meet and learn about interesting and unique people that we probably never would come across or have met on our own.
Meeting Robert was interesting to me because I pass the Budapest restaurant when I go to my Wednesday night figure drawing sessions. The restaurant is in an old brick building. It’s a diner style restaurant, and always has a warm and cozy glow when I pass in the evenings. So whenever I pass by I’m intrigued and often think about someday visiting. Well I made a portrait of Robert, got to know him and felt it was fate, I had to visit his restaurant. I had lunch at the Budapest and really enjoyed the food, the environment and the company; the place has a lot of character. I highly recommend visiting the Budapest.
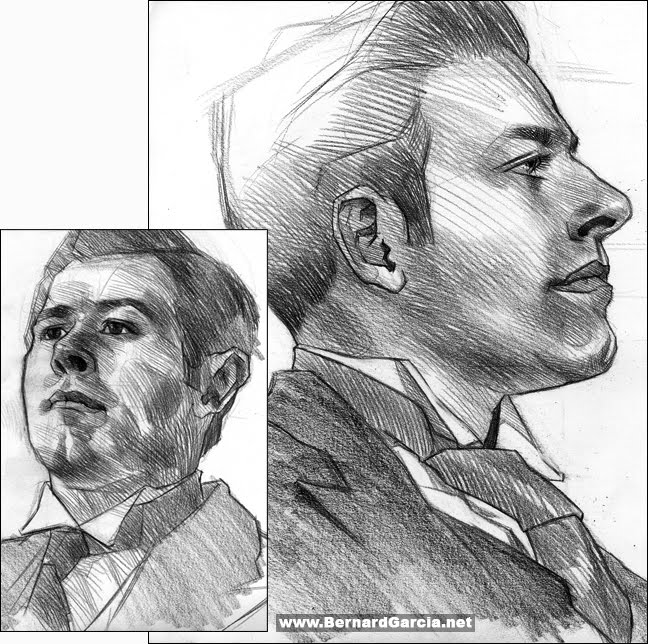
CLICK IMAGE TO ENLARGE, GRAPHITE ON PAPER 14" x 17"


